Fixing a Loose Touchpad / Trackpad on a Lenovo Thinkpad T14s Gen6
I recently got a new laptop, a Thinkpad T14s Gen6 (Intel version), and I was disappointed to find that the touchpad had a slightly “loose” feeling to it. When I’d place my finger on the touchpad, I’d feel a tiny bit of vertical play, and it really cheapened the experience of using the touchpad.
I knew this wasn’t the way the touchpad should be behaving, but I didn’t want to return the laptop for RMA/repair. In researching this issue, it appears to have been quite common on the T14 series laptops, especially back during the Gen3 version of it. I found a few Reddit posts of folks discussing the problem and a potential fix for it by using a piece of tape to shim a small gap in the touchpad’s assembly. Since the posts I found are specific to an older version of the T14/T14s, I thought I’d just share some photos of what I did to fix it so anyone else encountering the problem can take care of it themselves if they wish.
Standard disclaimers apply here – I’m not responsible for any damage you do to yourself or your laptop by following these instructions. Do this at your own risk.
Step 1: Go into the BIOS settings and disable the built-in battery. I actually didn’t bother to do this, but it’s probably a good idea to do it and be on the safe side.
Step 2: Remove the bottom case. There’s a great video demonstrating how to do this on the T14s Gen6 on YouTube:
The main thing to keep in mind is to start opening the case from the back of the unit (where the hinges are) and work your way to the front. You should eventually be able to lift up the bottom panel without having to use your pry tool along the front edge.
Step 3: Disconnect and remove the main battery. There battery connector is a bit finicky to disconnect and reconnect, and again there’s a great video demonstrating how to do it on YouTube I’ll refer you to, since a picture (or video) is worth a thousand words. While this video is for the Gen2 version of the T14s, the battery removal process is pretty much identical – about halfway through this video is where the demonstration of disconnecting the power connector is shown:
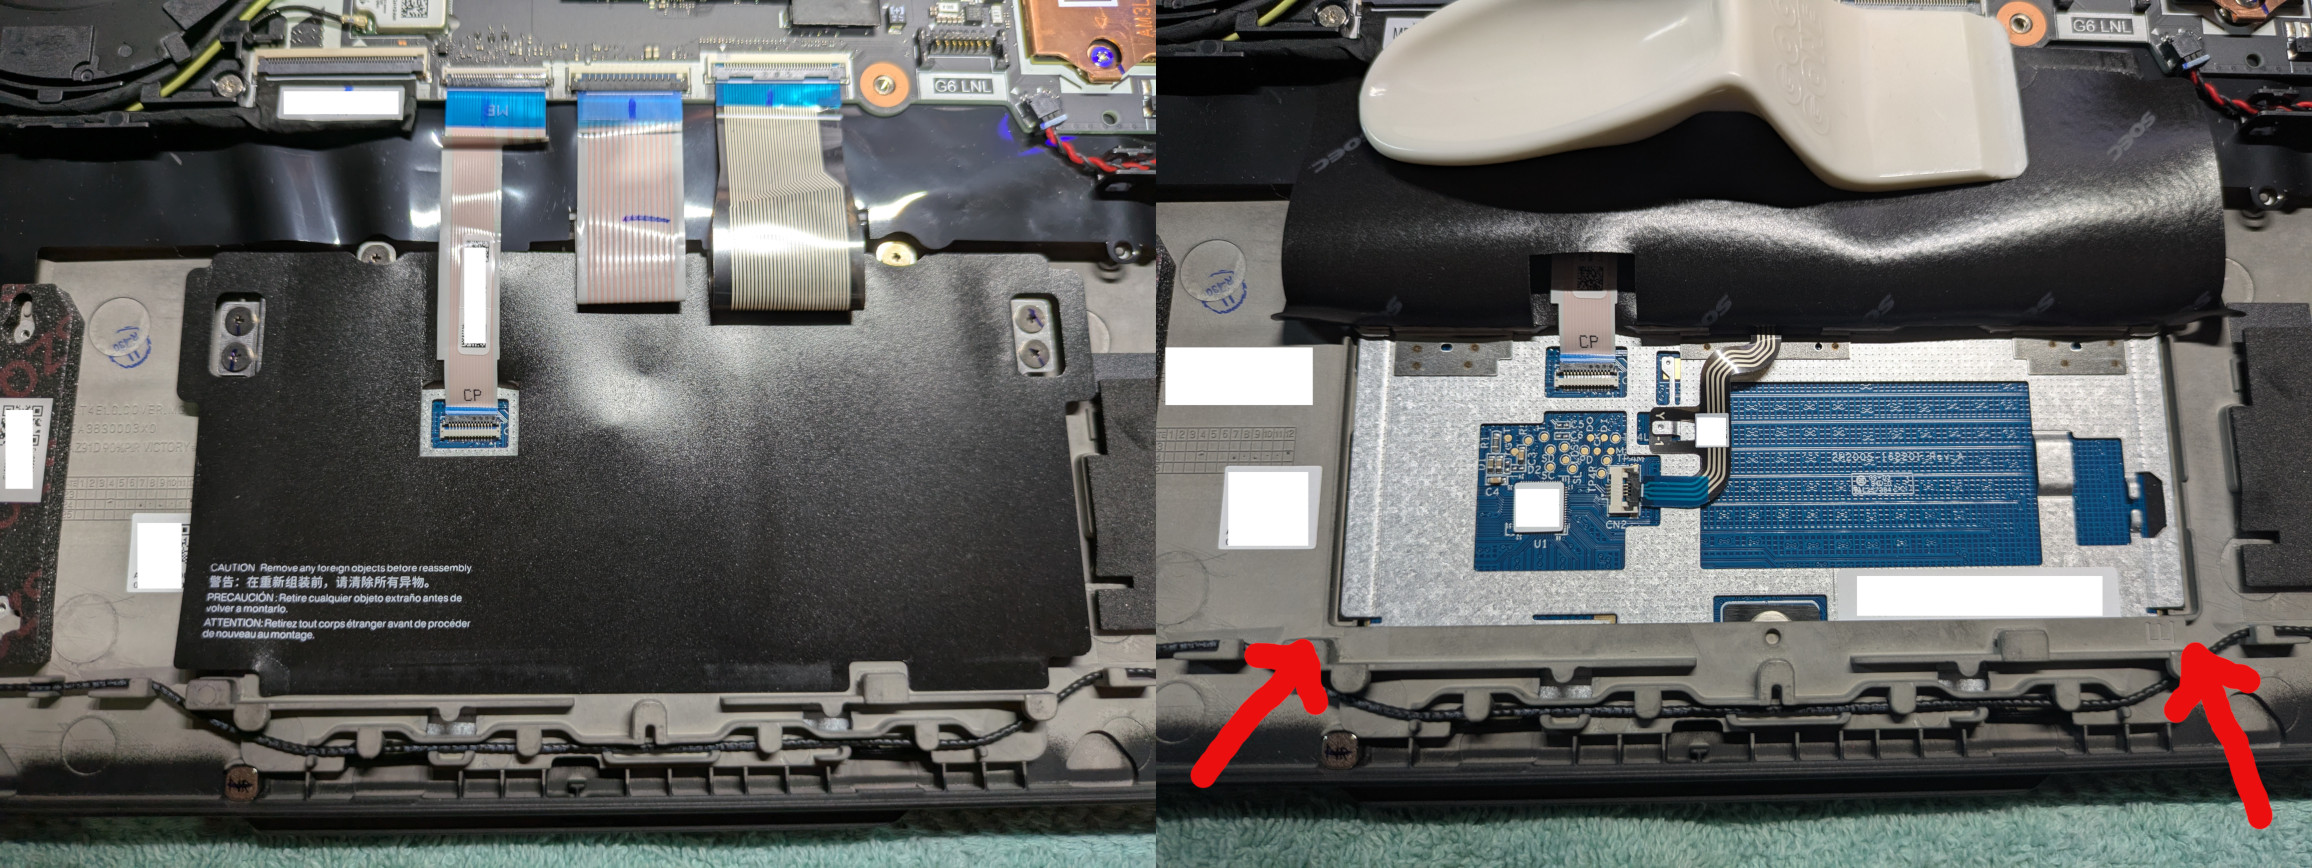
Step 4: Once you remove the battery, the touchpad areas is covered by a black sticker. You don’t need to remove any of the ribbon cables, just carefully peel back the lower half of the sticker to expose the area where the touchpad play exists. I’ve marked them with red arrows. In my case, the play was primarily on the left side of the touchpad, and I only needed to add a shim to that side (which is on the right side when the unit is upside-down, as in the photos below):
Step 5: Now find a shim material that is thin enough to fit into this corner area, but just rigid enough that you can slide it in without the material crumpling up. I found a piece of a 3×5 index card was perfect for this, but your situation may vary based on how much space you need to shim. Once inserted, I trimmed the paper and taped it down to secure it:
Step 6: Put everything back together. The battery power connector is again a bit counter-intuitive to use, so refer to the video above which demonstrates how to reconnect it.
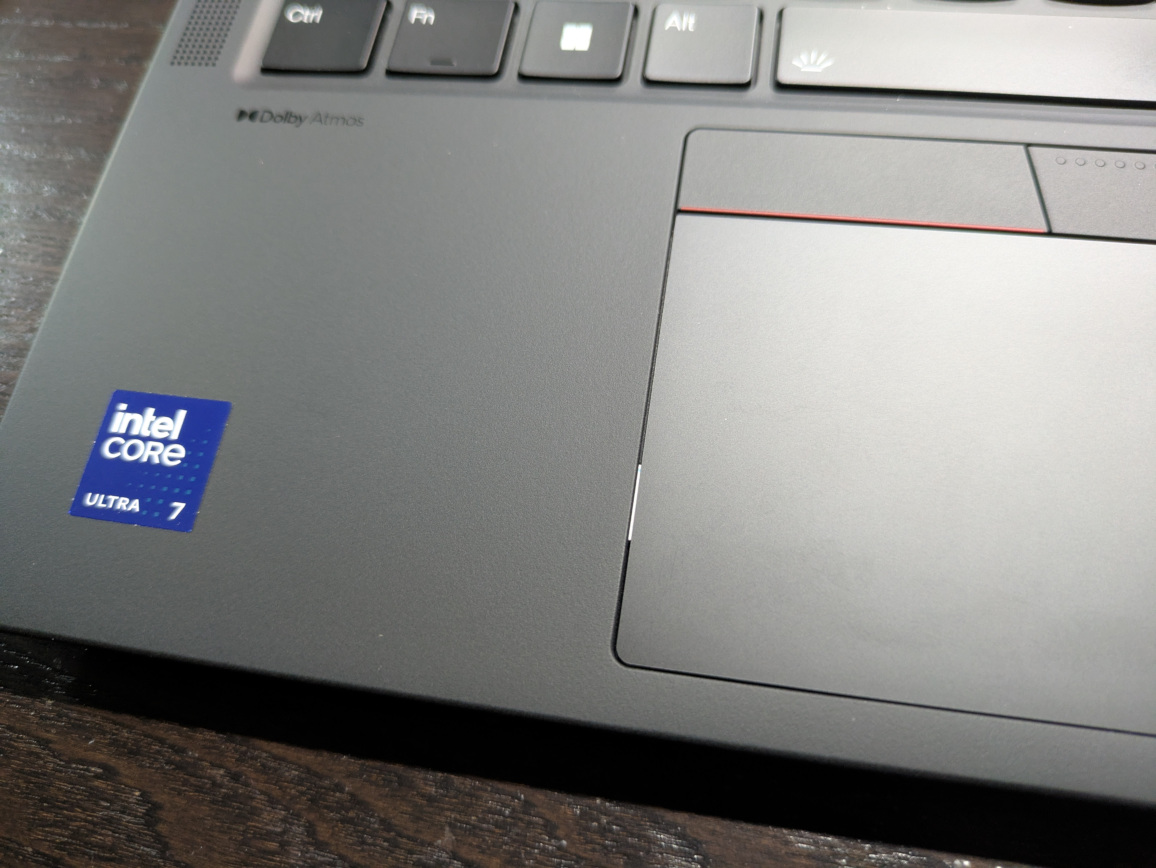
So far this fix is working great for me and the touchpad now feels solid and stable, and I can still press to click normally too. One thing I’ll mention though is that I can see the section of 3×5 card in the gap at the edge of my touchpad. If this bothers you, use a black-colored shim to minimize the visual impact.
I hope this helps some of you out there who run into the same problem!